One convenience food we like to have on hand is frozen sliced zucchini. It is very versatile and can become the key ingredient in a fantastic vegetarian meal. We use the crinkle cut zucchini, but any sliced frozen zucchini will work well in this recipe. These squares have a light-as-a-feather consistency and delightful flavor. Serve with a baked potato.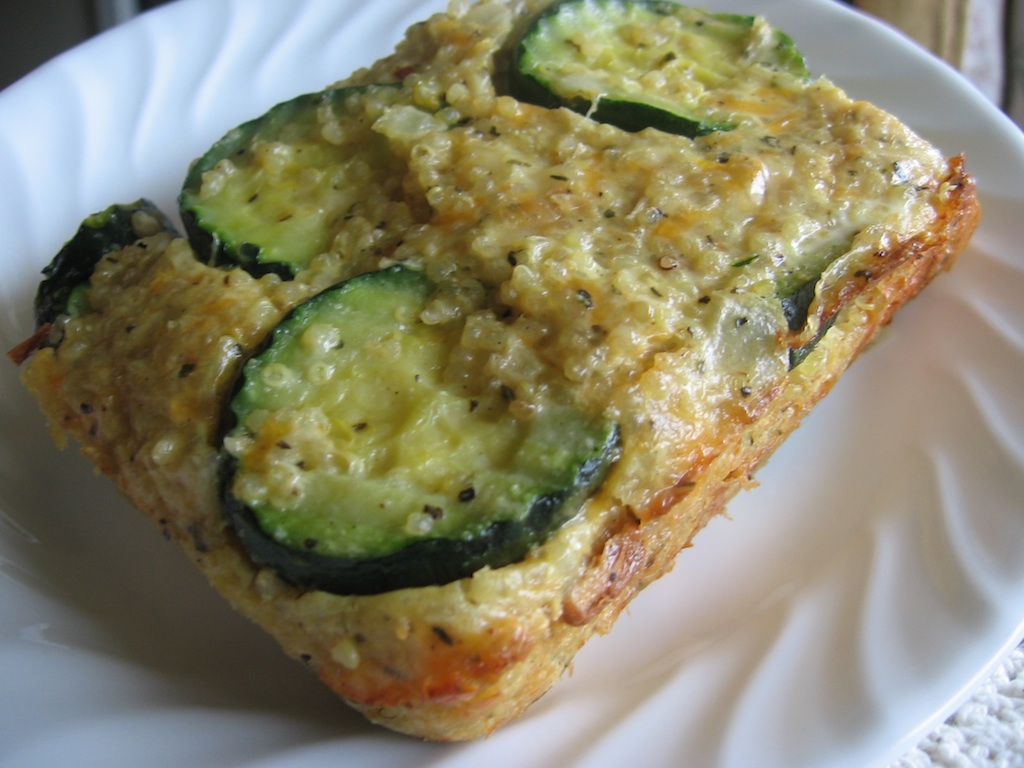
Serves 4-5.
Ingredients:
- 1-16 oz bag frozen zucchini, thawed
- 1 tsp olive oil
- 1 c onion, finely chopped
- 2 cloves garlic, minced
- 1 tsp dried basil
- 1/2 tsp salt
- 1/4 tsp pepper
- 1 tsp lemon zest
- 1 Tbsp fresh lemon juice
- 4 oz solid cream cheese, softened
- 1 c Colby-Jack or Cheddar cheese, shredded
- 1 1/2 c cooked quinoa*
- 2 eggs, lightly beaten
Directions:
- Place the thawed zucchini in a colander and press gently to remove excess moisture. Set aside. Preheat the oven to 375 degrees F and generously butter an 8 x 8 x 2 inch baking dish.
- In a large skillet, saute the onion in the olive oil for about 1-2 minutes over medium low. Add the garlic, basil, salt and pepper; saute another 30 seconds.
- Remove from heat and stir in the lemon zest, lemon juice and cream cheese. Allow the residual heat in the pan to further soften the cream cheese; blend it in. Add the Colby-Jack cheese and again, allow the heat in the skillet to help blend it in.
- Fold in the zucchini next and when incorporated, fold in the quinoa. Lastly, add in the beaten eggs and blend well.
- Transfer the mixture to the prepared dish. Bake 35 minutes or until set up and golden brown. Cool 10 minutes before cutting into squares.
You can cook the quinoa in a rice cooker or on stovetop, using about 3/4 cup of quinoa to 1 1/2 cups water. If using the stove-top, bring to a boil, reduce the heat to lowest setting, and cover. Simmer for about 15 minutes or until fluffy and dry. Unlike rice, it is okay to stir the quinoa a couple of times while cooking to assure that it does not stick to the bottom of the pot.